Cloudy’s Chalkboard: How to Create an Email Template
Hopefully you are already using the emailing capabilities of salesforce.com to not only streamline and automate your email processes, but to capture relevant records of all your client communications! Last ...
Hopefully you are already using the emailing capabilities of salesforce.com to not only streamline and automate your email processes, but to capture relevant records of all your client communications!
Last time, Cloudy illustrated the steps to create an email letterhead. A themed letterhead with your logo will give your emails a consistent, branded look and feel. Today we will create an email template.
With email templates you get simplicity and quality control:
- Standardize the email messages used by your team.
- Keep all messaging in line with your brand.
- Enhance speed and productivity.
- Personalize with easy merge fields.
- If you do not have any custom template folders set up, this is a good time to create one! Just click the “Create New Folder” link next to the Folders menu and give your new folder a distinctive name, such as “Your Company Name Email Templates”.
- Click the “New Template” button.
- Select “HTML (Using Letterhead)”
- Confirm the correct destination folder is selected.
- Check the “Available For Use” check box.
- Name your template – be descriptive!
- Select the Letterhead you created last time from the menu
- Choose an email layout; for your first template, try the “Free Form Letter” and check out the other options at another time.
- Enter a detailed description of the content and intended use of this template.
- Click “Next”.
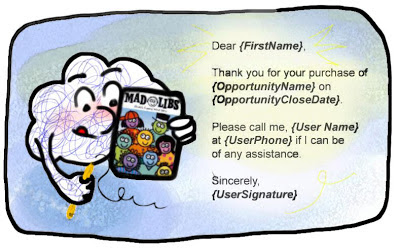
- Start by typing the text as you would like it to appear. Note where you would like to insert merge fields; for instance “Dear FIRST NAME,”…
- When the basic text is in place, you are ready to insert merge fields! In the “Available Merge Fields” tool bar, select the OBJECT that this email will be sent from or related to. CONTACT is the most common choice, but Leads and Opportunities are also common. The Object you choose should be the one that contains the information you want to use as merge fields.
- After selecting the object, find the field you want from the second picklist. ie. “First Name”
- The Merge Field “code” will appear highlighted in the third field of the tool bar. Copy and paste it into the correct position in your template.
- When you are ready to test the template, click next, copy your content into the Text-only editor, and click “Save.” Now you will see a button to “Send test and verify Merge fields.” If the test goes well, your template is complete!


